 EN

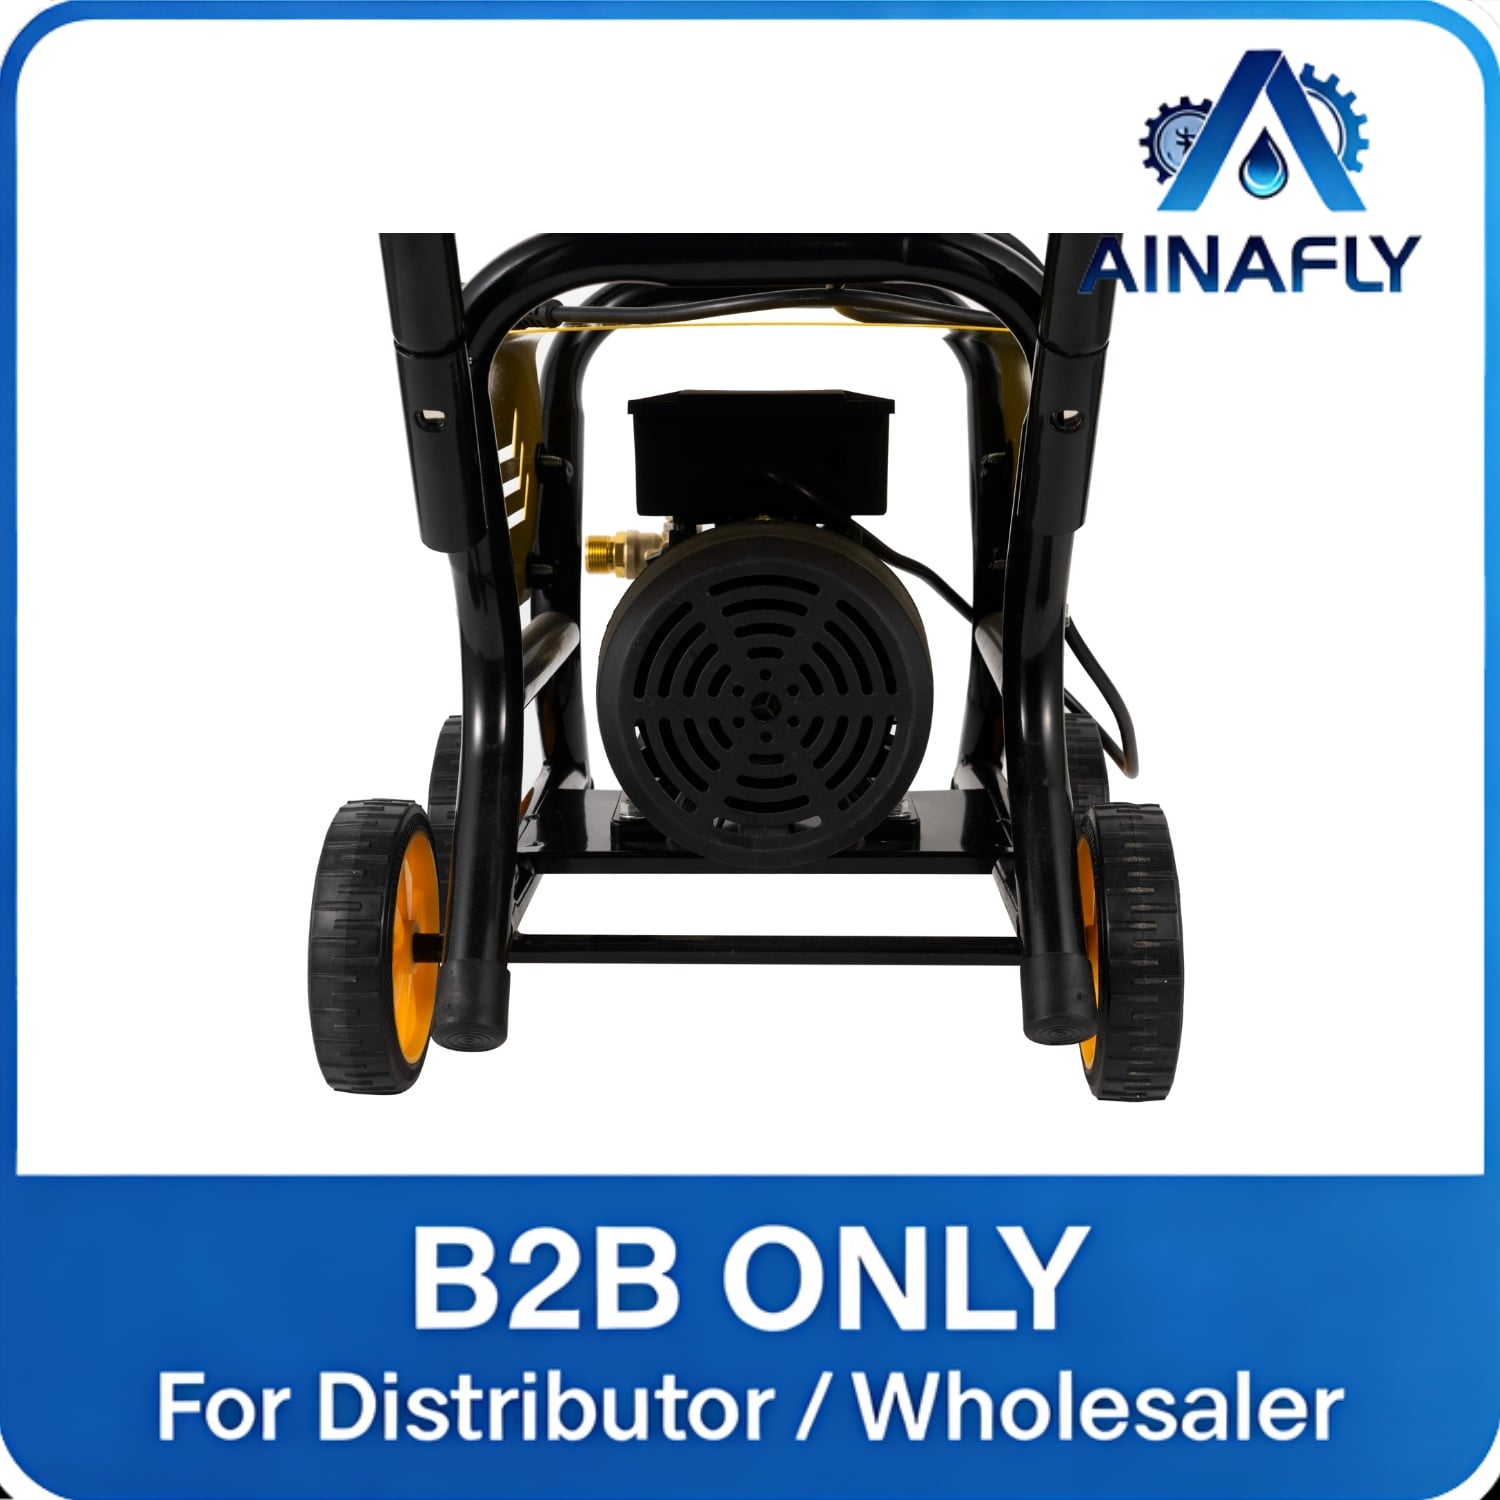
Low water pressure from a household water pump can disrupt daily routines and signal underlying mechanical issues that demand immediate attention. When your household water pump fails to deliver adequate pressure, it affects everything from shower performance to irrigation systems and household appliances. Understanding how to diagnose the root cause of low pressure is the first step toward restoring your household water pump to full operational capacity. Many homeowners attribute pressure drops to city water supply problems, but often the issue lies within the household water pump system itself or its supporting components.

A properly functioning household water pump maintains consistent pressure throughout your plumbing network, ensuring reliable water delivery to every fixture. When pressure drops unexpectedly, your household water pump may be experiencing wear, blockage, or control system failure. This guide walks you through the diagnostic process, identifies the most common culprits behind pressure loss, and explains practical repair strategies that homeowners can implement. Armed with this knowledge, you can determine whether your household water pump needs professional service or can be restored through routine maintenance.
Understanding Common Causes of Low Pressure in Your Household Water Pump
Blockages and Sediment Accumulation
Sediment, mineral deposits, and debris inside a household water pump gradually reduce water flow and pressure output. Calcium buildup from hard water, rust particles from aging pipes, and sand or silt from contaminated water sources all contribute to internal blockages. When these particles settle inside the pump chamber or inlet screen, your household water pump must work harder to push water through narrower passages, resulting in noticeably lower pressure at your fixtures. Regular filtration and periodic cleaning of your household water pump's intake screen can prevent this common problem from developing into a major issue.
Air Leaks and System Pressurization Issues
Air pockets within the plumbing lines or inside the household water pump itself dramatically reduce pressure and create inconsistent water flow. When air enters through loose fittings, cracked pipes, or during pump priming, your household water pump must work to purge that air before establishing normal pressure. A faulty or improperly adjusted pressure switch on your household water pump may also prevent the unit from reaching target pressure settings. Checking all visible connections and verifying that your household water pump's air valve functions correctly can quickly eliminate this class of problems.
Diagnosing Low Pressure: Step-by-Step Procedures
Testing Pressure Output and Identifying the Source
Begin by measuring the actual pressure your household water pump generates using a pressure gauge attached to a convenient outdoor faucet or test port. Most household water pump systems should maintain 40 to 60 pounds per square inch (PSI) under normal conditions; readings below 30 PSI confirm inadequate performance. Next, isolate whether the issue originates inside your household water pump or in the distribution system by testing pressure at multiple locations throughout your home. If pressure is higher near the pump but drops significantly at distant fixtures, you likely have blockages or leaks in the piping network rather than within your household water pump itself.
Inspecting Pump Components and Connections
Visually examine all visible parts of your household water pump for signs of physical damage, corrosion, or loose fasteners. Look for water dripping from the seal area, which indicates internal seal failure within your household water pump. Check that the intake line connecting to your water source remains clear and that the outlet side shows no visible cracks or disconnections. Listen for unusual grinding or cavitation sounds when your household water pump operates; these noises suggest internal wear or the presence of air in the system. A simple visual inspection often reveals issues that explain why your household water pump delivers insufficient pressure.
Practical Solutions and Repair Strategies
Cleaning and Maintenance Procedures
Flushing the intake screen of your household water pump removes accumulated sediment and restores normal flow rates. Turn off power to your household water pump, locate the intake valve or access port, and carefully remove any visible debris. For mineral deposits inside the pump chamber, running a weak acid solution through the system can dissolve calcium buildup; vinegar mixed with water works for mild cases, though severe deposits may require professional chemical treatment. After cleaning, verify that your household water pump operates smoothly and delivers improved pressure at all fixtures. Establishing a quarterly maintenance schedule for your household water pump prevents sediment accumulation from recurring.
Adjusting Pressure Switch Settings and Replacing Worn Components
household water pump pressure switches control when the unit activates and deactivates based on system demand. If your household water pump runs continuously without maintaining pressure, the pressure switch may require recalibration or replacement. Consult your pump's manual for the correct cut-in and cut-out pressure settings; most residential models activate around 30 PSI and shut off around 50 PSI. Stuck or corroded internal check valves inside your household water pump prevent proper pressure buildup; replacing these inexpensive components often restores performance without requiring full pump replacement.
Addressing Leaks and Seal Failures
Small weeping leaks from the seal area of your household water pump indicate progressive seal wear that will eventually worsen. Tightening the packing nut around the pump shaft may temporarily reduce leaking from a household water pump, but this is only a short-term solution. If leaking persists after minor adjustments, the mechanical seal inside your household water pump requires professional replacement. Continuing to operate a leaking household water pump accelerates damage to internal bearings and may result in total failure.
FAQ
Why does my household water pump lose pressure during peak usage times?
Peak usage reveals that your household water pump cannot meet simultaneous demand from multiple fixtures. This commonly occurs when the pump's capacity falls below your household's requirements or when check valves fail to hold pressure between cycles. A properly sized household water pump should maintain consistent pressure even when multiple fixtures run simultaneously. Upgrading to a higher-capacity household water pump or installing a larger pressure tank can resolve pressure drops during peak demand.
Can I fix low pressure in my household water pump without calling a professional?
Many pressure problems stem from simple issues like blocked intake screens, air in lines, or incorrect pressure switch settings that homeowners can address independently. Cleaning debris, bleeding air from the system, and adjusting switch settings all require only basic tools and minimal technical skill. However, if your household water pump exhibits internal damage, bearing wear, or seal failure, professional service becomes necessary to prevent catastrophic breakdown. Start with basic diagnostic steps; if those don't restore pressure, contact a qualified technician to evaluate your household water pump.
How often should I service my household water pump to avoid pressure problems?
Routine maintenance of your household water pump extends operational life and prevents unexpected pressure loss. Inspect the intake screen quarterly and clean it if sediment accumulation is visible. Test system pressure annually and verify that your household water pump reaches target PSI settings. In areas with hard water, descaling your household water pump every 6 to 12 months removes mineral buildup before it significantly impacts performance. Professional inspection every 2 to 3 years catches internal wear early before a failing household water pump leaves you without water pressure.